Our manufacturing process
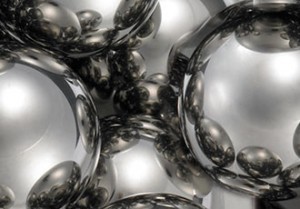
MetallBall manufactures, thanks to its own production tools, high precision steel, stainless steel and ceramic balls. Blanks are made by cold heading, we hold in our tool pool 5 heading machines (Ø 1mm to 16mm). The following step of hard grinding allows us to phase out the flange and the 2 poles made by the heading.
The semi-finished balls are then sent out to subcontractor for thermal treatment. This is the only subcontracted process to certify conformity to NADQAP. The ceramic blanks are supplied by manufacturers certified Class 1 ASTM F2094.
All balls are manufactured on iron casted plates, machined internally with a CNC machine. An extra polishing step, performed in a controlled environment, is necessary to reach Grade 3.
Our production is managed by ERP comprising our customer’s orders, purchasing orders and the stock. This system also enables, thanks to the record of real time labor with a bar code function, to post on flat screens installed on each unit of the shop floor, a dynamic production planning.
Our checking equipment
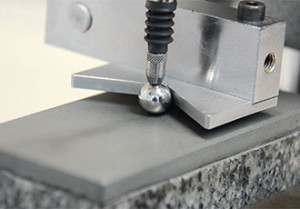
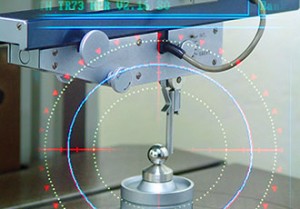
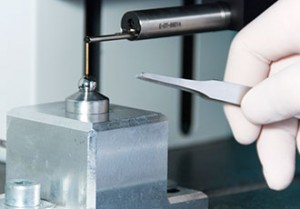
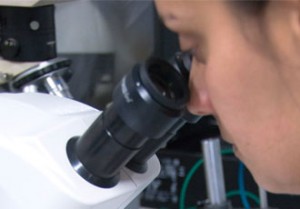
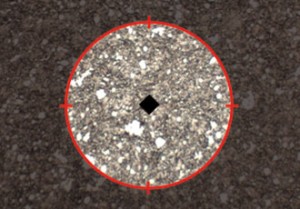
Our specialized laboratory is a key element to our quality, the working environment is controlled to guarantee measurement accuracy (temperature, hygrometry, overshoes are compulsory) and is organized according to 5S. The diameters and variation in diameters are measured by comparison to a standard ball under laminar flow cabinet (Class 100) to ensure precision at 1/10µm. The roundness and roughness inspection tools are gauged on a weekly basis to match with the most accurate value such as Grade 3. The surface of the balls is inspected under a microscope equipped with a numeric camera.
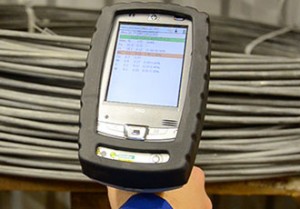
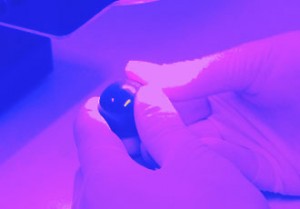
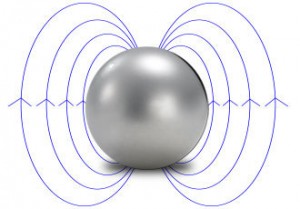
The second key to success is our ball material inspection. The analysis of the chemical composition during our goods-in inspection ensures the basis of our manufacturing process. The Eddy Current and material sorting on steel balls and penetrant inspection on ceramic balls are optional requirements for the most critical fields.
Additionally, for some particular activities where cleanliness is essential, a particle inspection per batch can be performed.
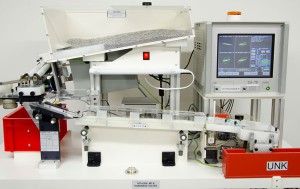
Eddy Current
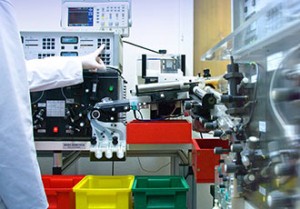
Eddy current inspection. Technician qualified COFREND COSAC level 2.
Découvrez la fabrication & le contrôle des billes
EN VIDÉO…
A technical query, a quote, stock availability? Contact us on +33(0)5 63 27 77 21 or via our contact form
